Getting Started
Updated: August, 2024
Getting Signed Up
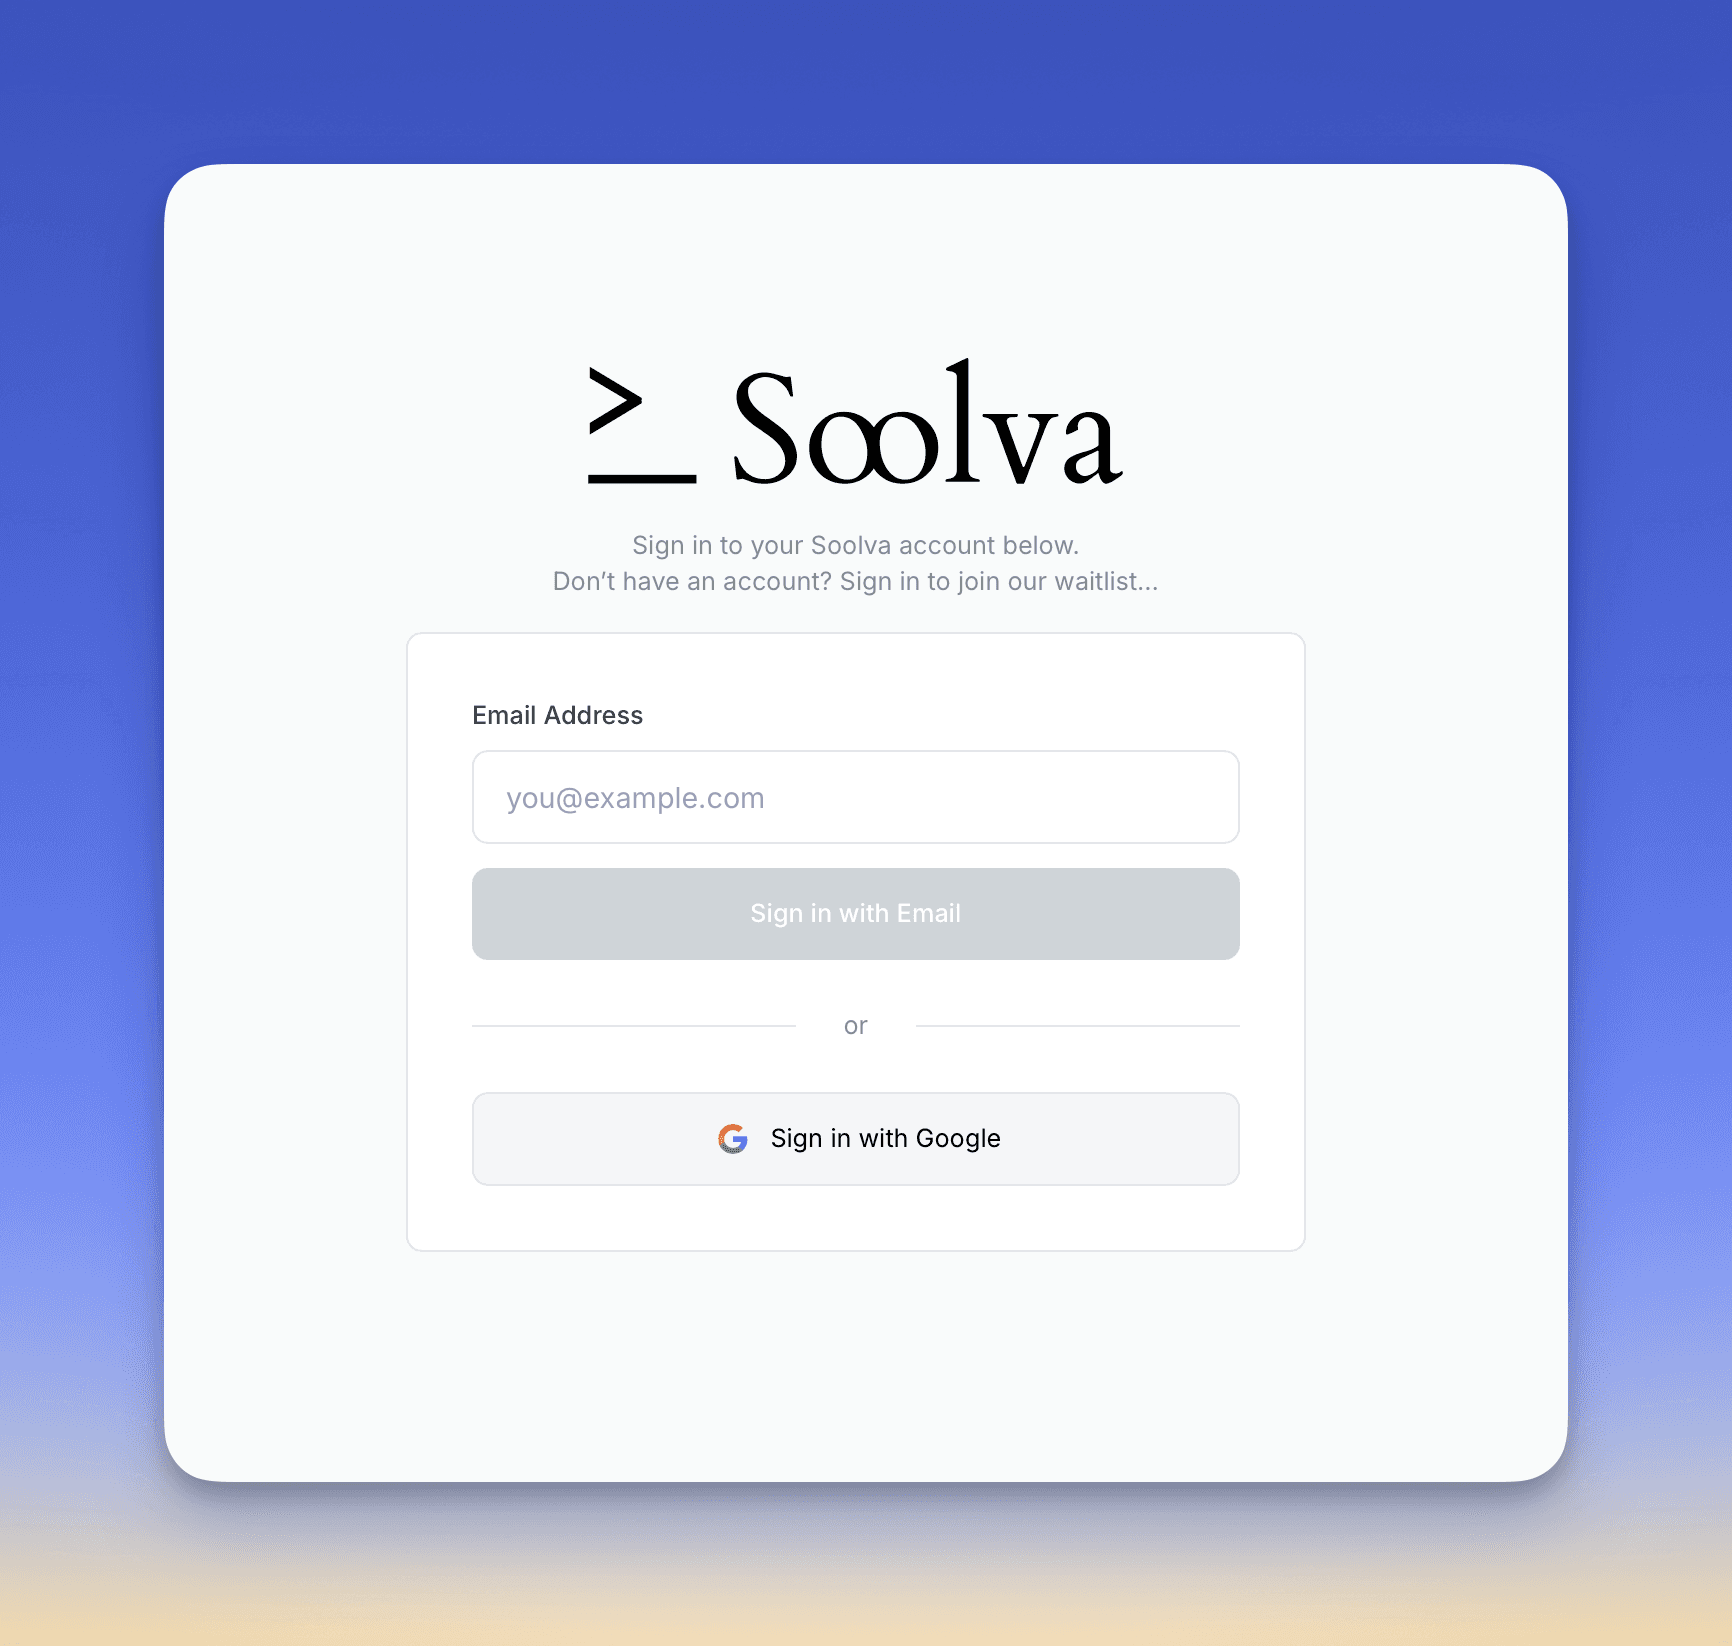
Well, to login, or even signup, you should go to app.soolva.com — in fact, you should probably bookmark it
Well, to login, or even signup, you should go to app.soolva.com — in fact, you should probably bookmark it
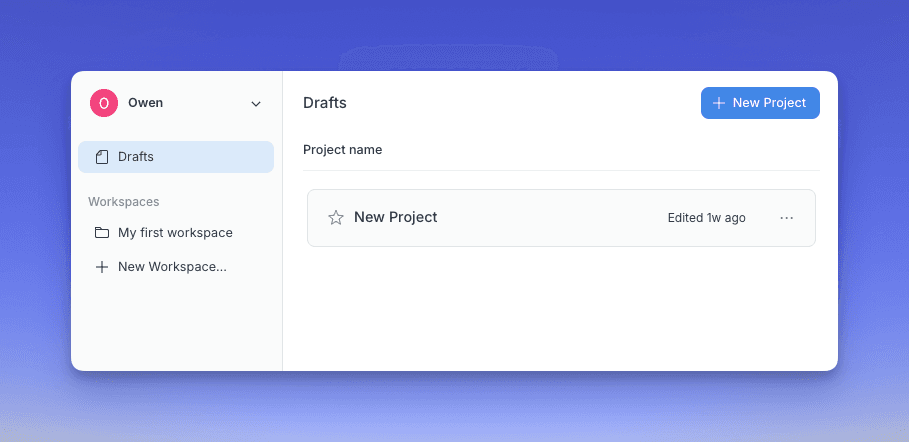
You can get to work on a project, but for this intial time I think we should setup some LMMs. To do that, click on your profile name and a drop down will appear. From this drop-down you should select Settings.
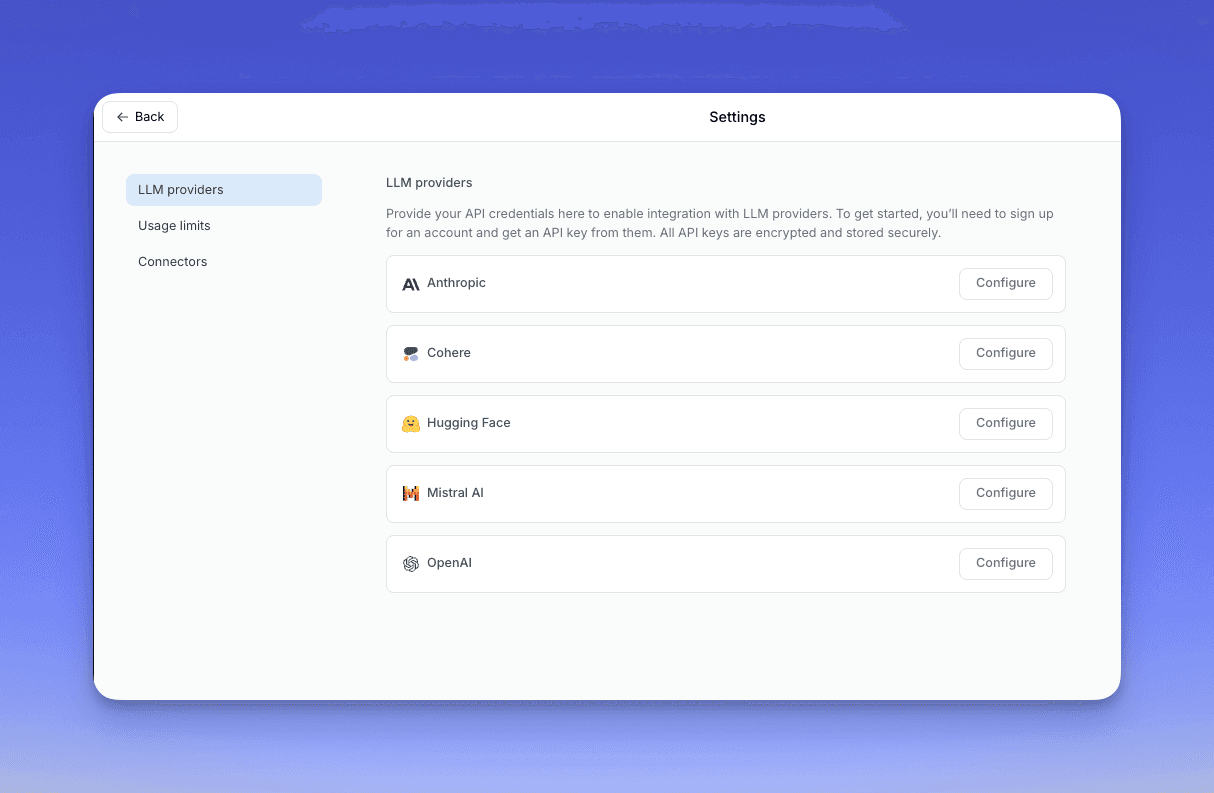
Conveniently, Settings opens straight into your LMM providers. Select the provider you want to connect with the configure button, paste in your API key, and click the blue add button.
Each provider has helpful guides to get your API keys which you can find here: Anthropic, Cohere, Hugging Face, Mistral AI, OpenAI.
Now you’ve got your model plugged in, you can create a new project or pickup from one if you’ve already started
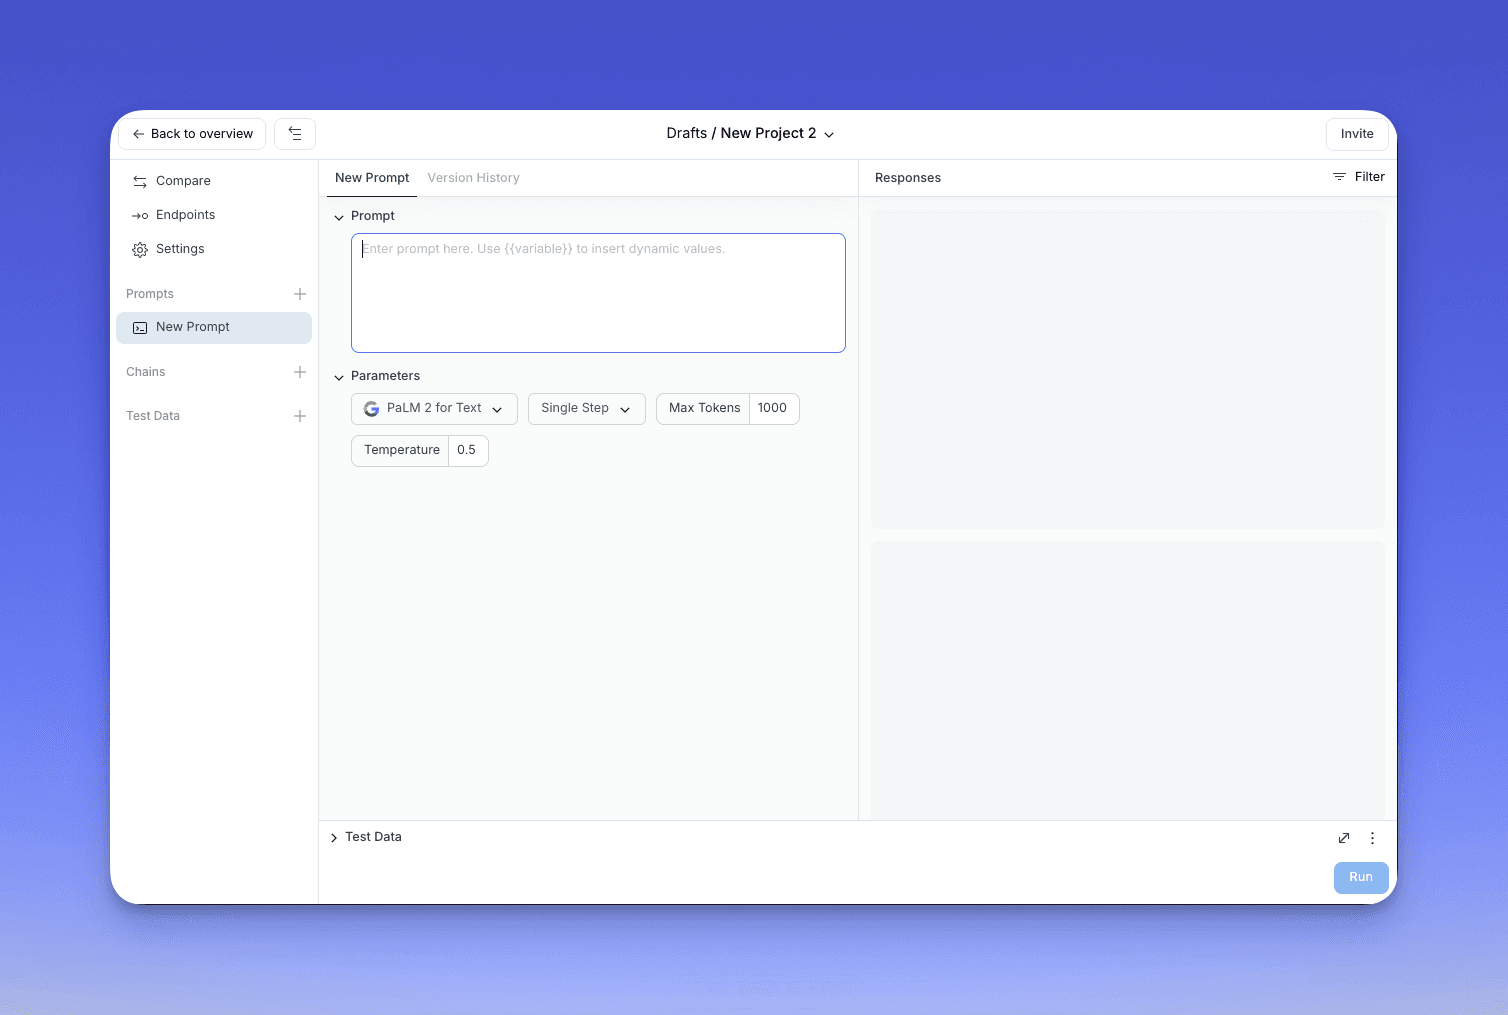
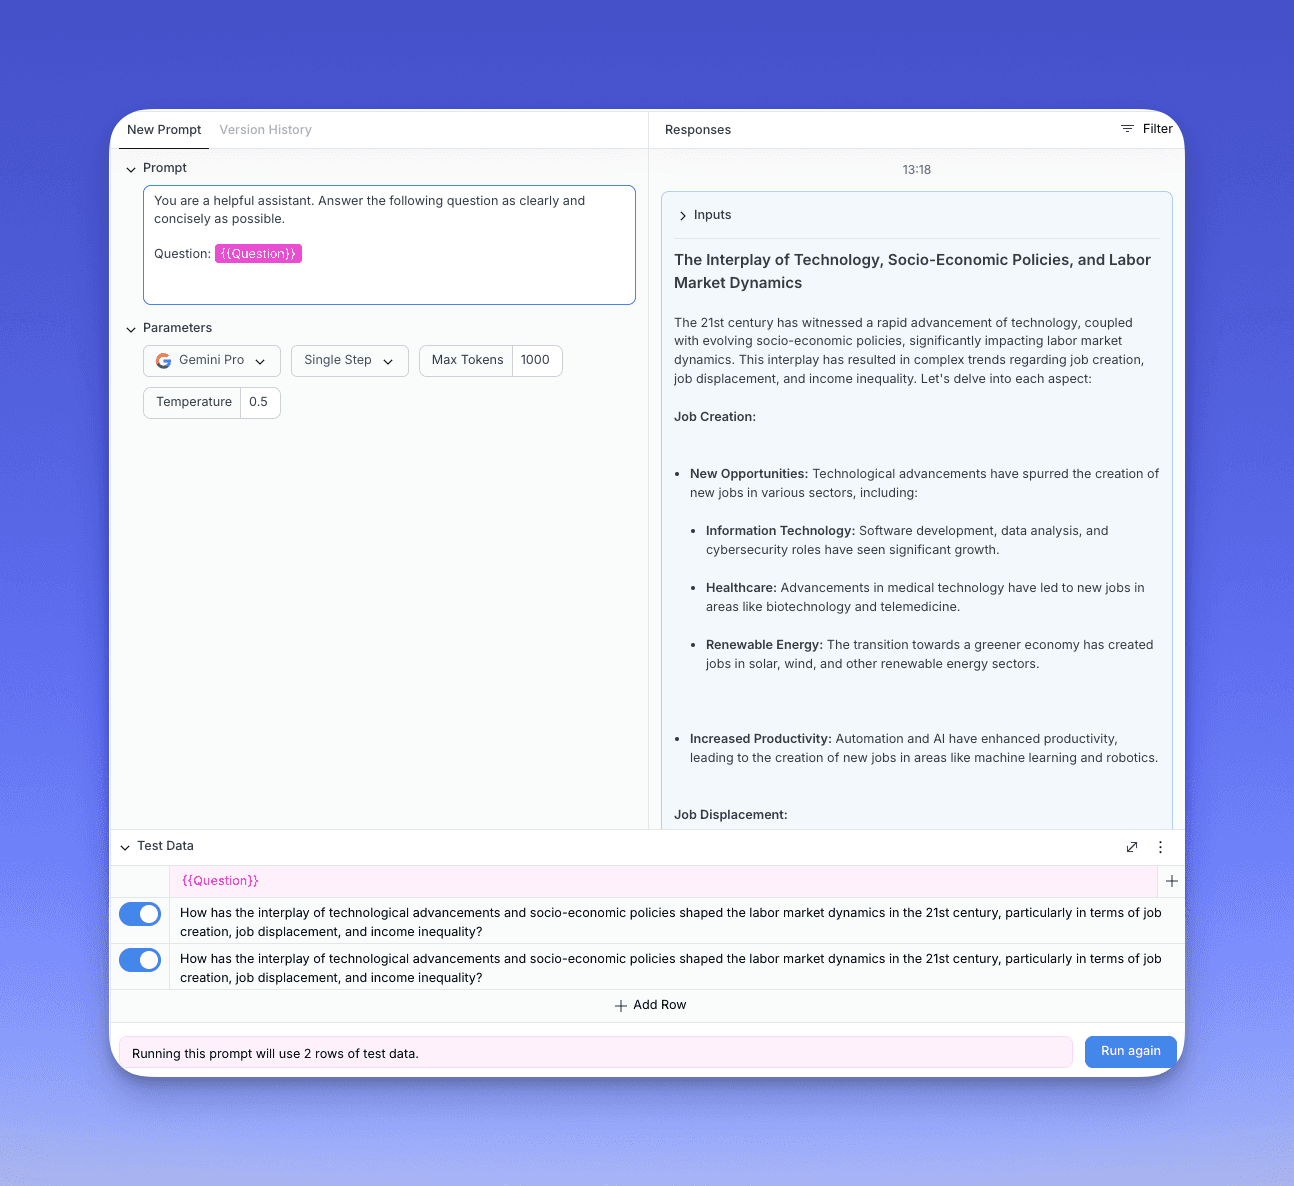
This is the prompt development page - where you iterate, view version history, plug in data and create responses. You’ll also find Comparison, Settings and Endpoints in the left side pannel.
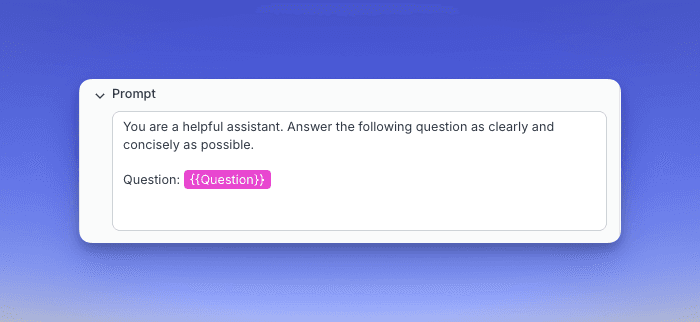
Here, I’ve created a quick example. But before I run this I need to specify what the variable input is. To do that - select the ext and a pop-over will appear to define the selection as an input.
If you’re using Soolva, you’re using a prompt multiple times. The aspects of your prompt that are inputs, to change each time, should be selected and turned into an “Input”.
Before I can run the prompt, I need to provide it with some data. At the bottom of the screen you’ll see Test Data. Here you can upload some data of your own (such as a CSV file). For our demo, I’ve just added some manually.
With some data put in, you can now save and run the prompt for the first time.
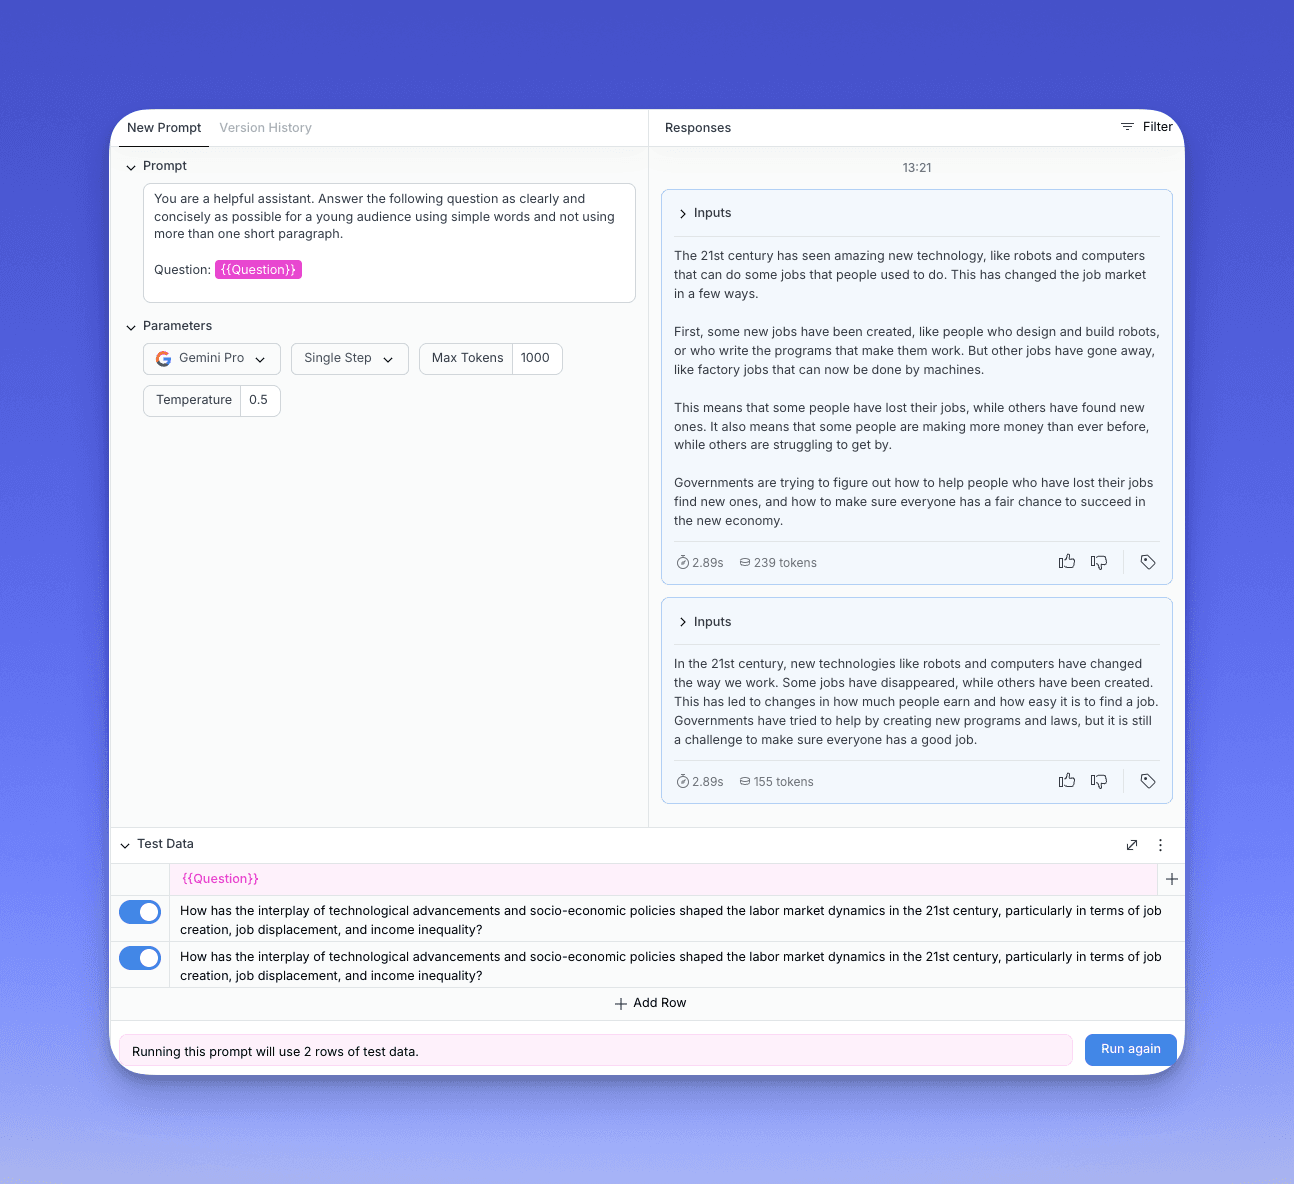
My responses seem to be very detailed and in depts. I’ll make a change to the promtp, asking it to keep things simple for a young audience, and try again.
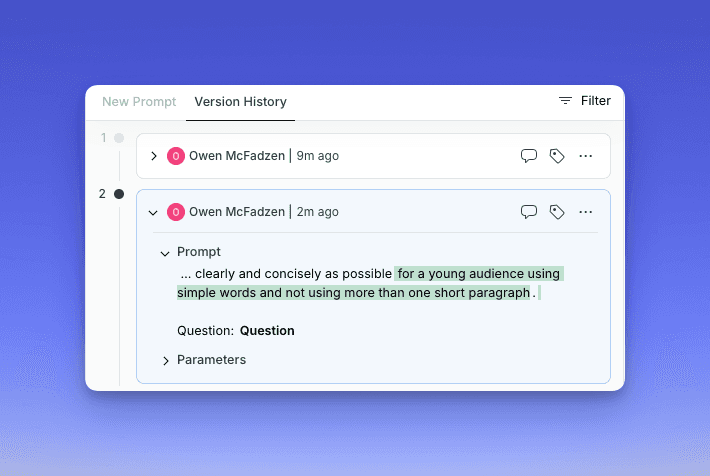
Now I’ve gotten a much better results. If you click on Version History, you can now see that every time the prompt is run a new version is created.
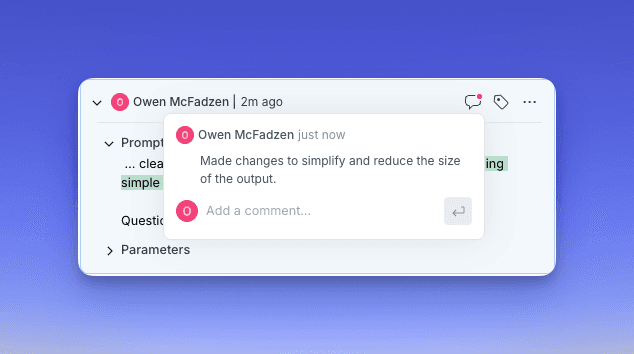
You can see the the changes are highlighted. I can go back to this version, create an endpoint for a specific version or add tags and comments.
Endpoints
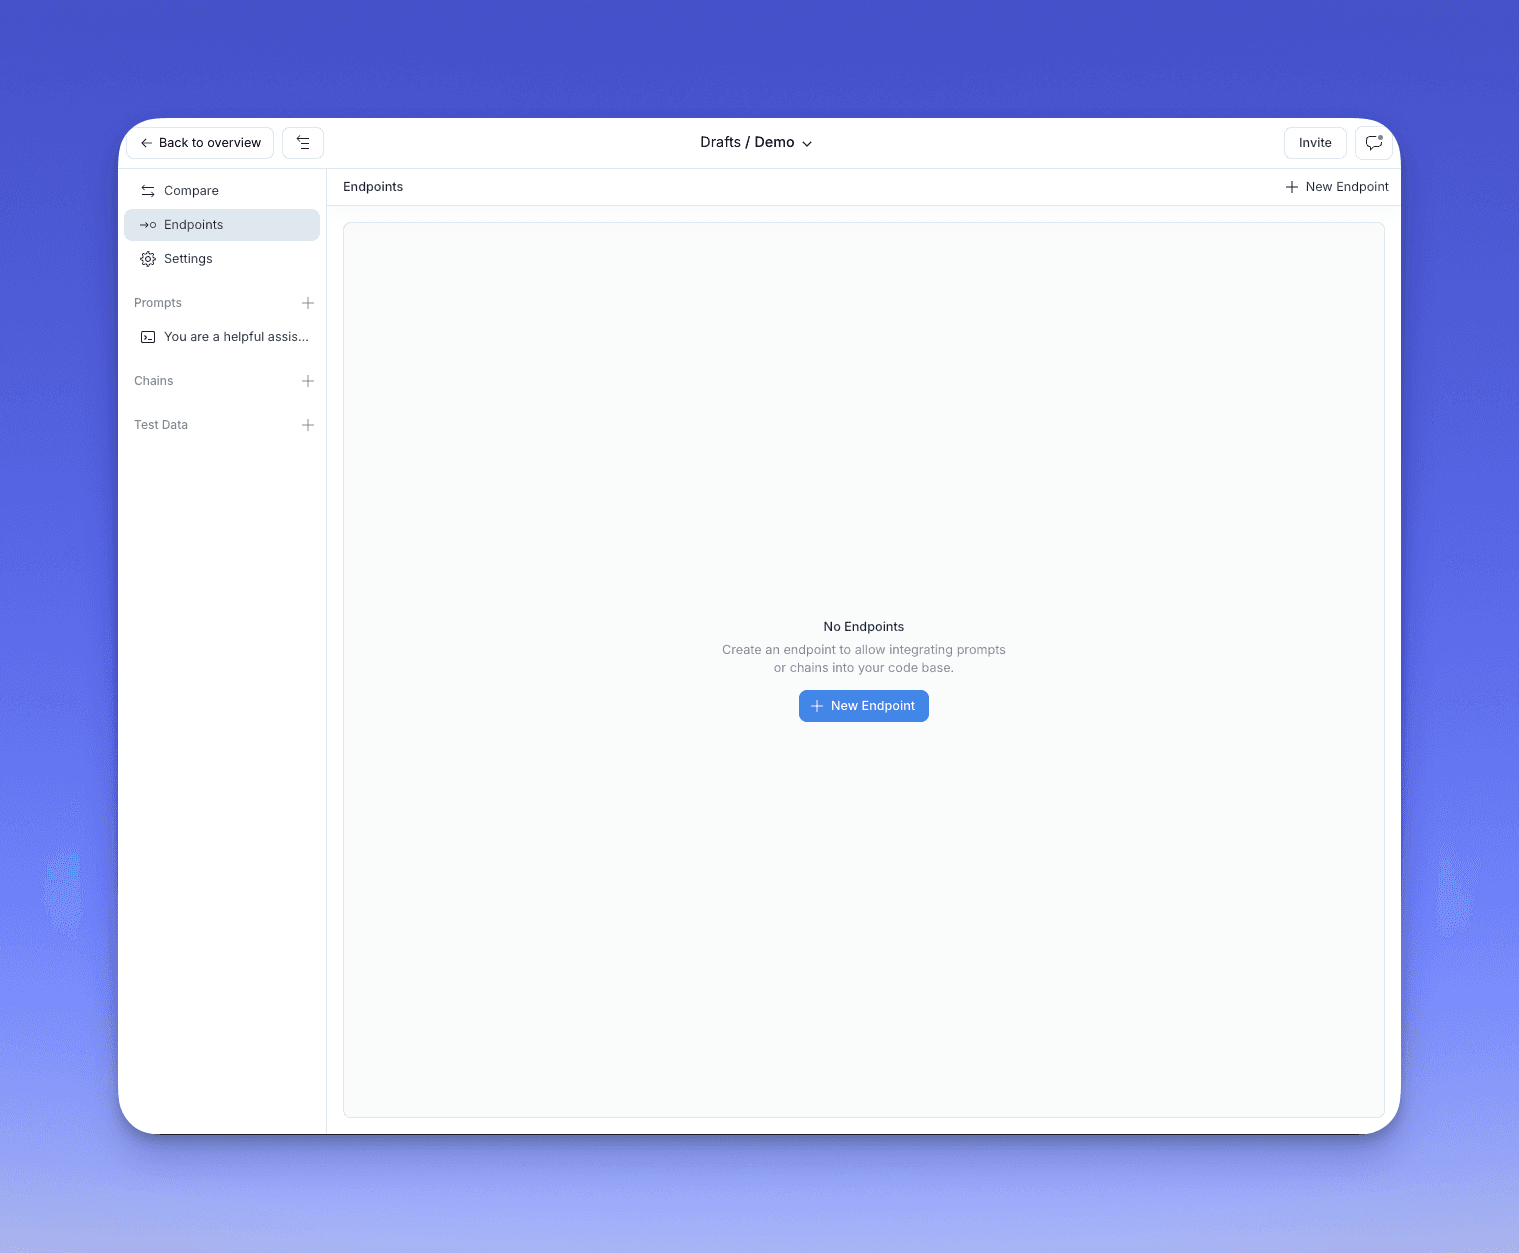
Once you’ve got yourself setup with a good prompts, you can make your way to the Endpoint section, on the left, within your project view.
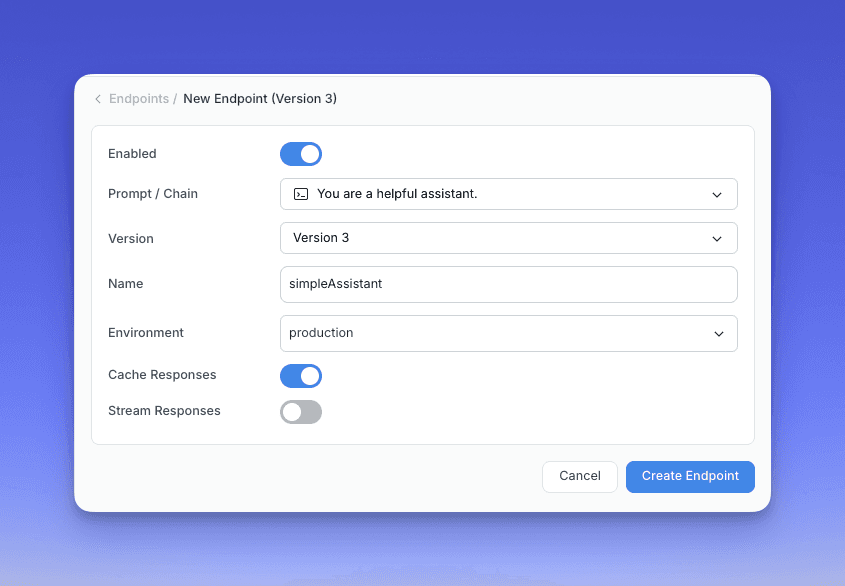
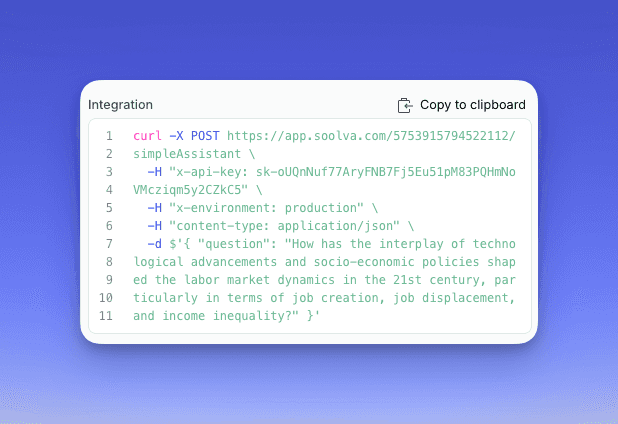
Creating a new endpoint requires the prompt (or chain) you want to use, which version and environment and give it a name that will allow you to identify it.
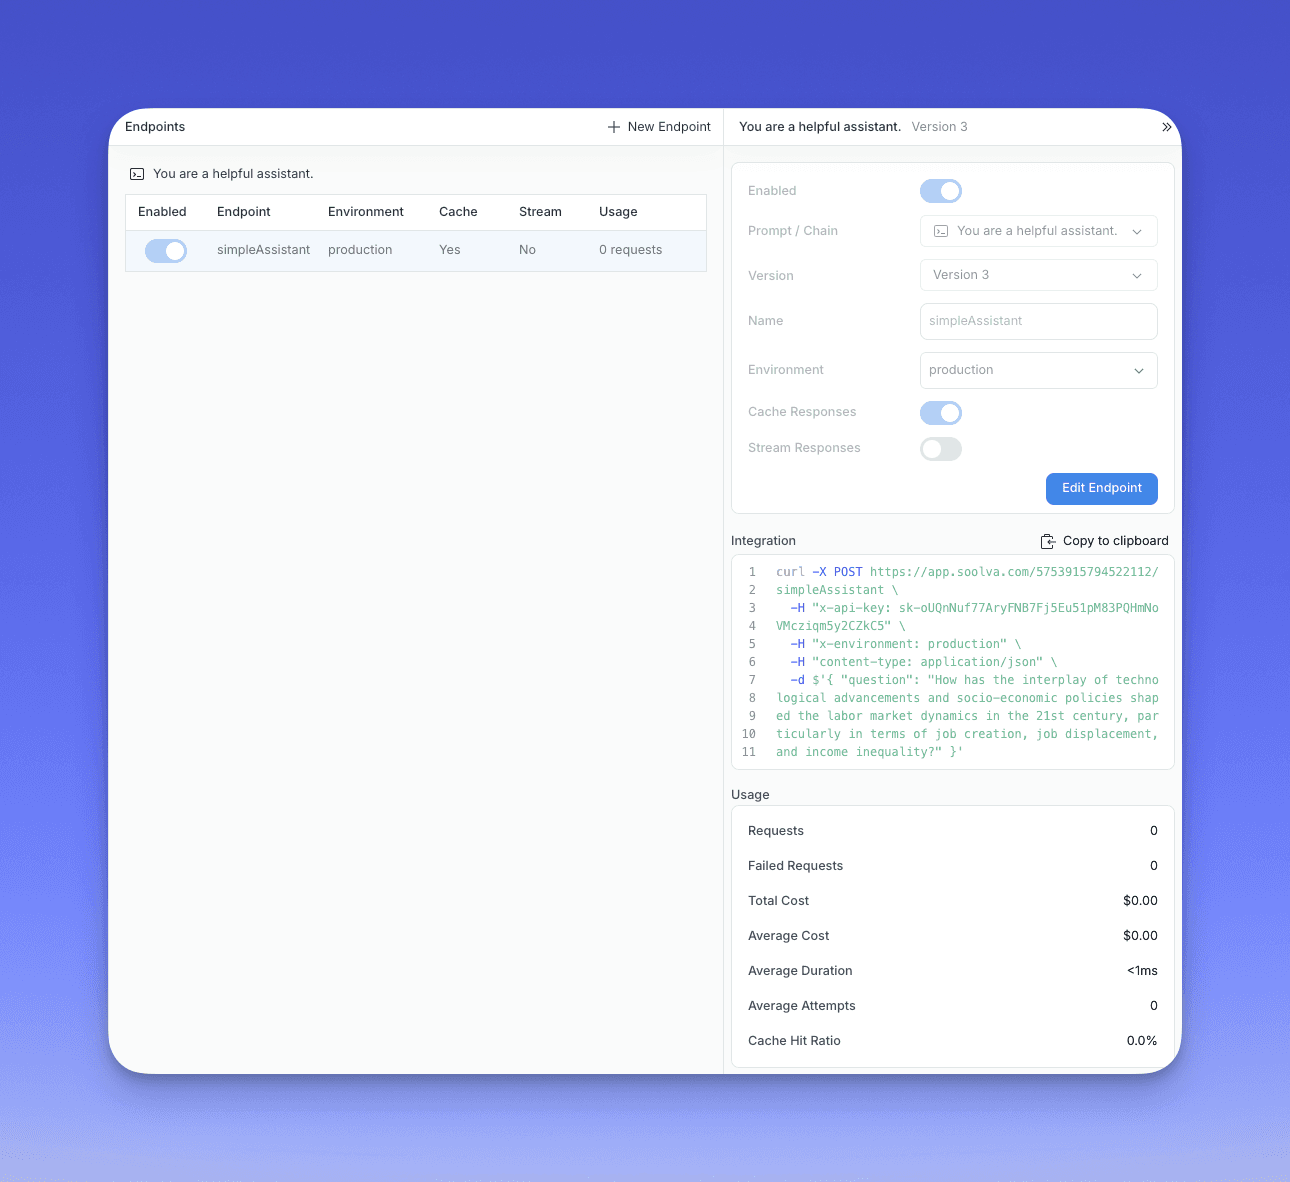
Once you have an endpoint created you can take the Integration snippet and place it in your product where ever you want it to be accessed.


